
Despite working in a coffee shop for 3+ years, I never had the chance to play with a drip cold brew coffee maker before a couple months ago.
I had always used the immersion cold brew method exclusively. And, frankly, I was skeptical of drip cold brewing.
Drip cold brewing just seemed so fickle and tedious. Why would I fidget with the water drip rate if I could just throw it all together in a french press for 12 hours?
Immersion cold brewing is consistent and straightforward. Drip cold brewing seemed unnecessarily difficult.
When Osaka contacted me and asked if I wanted to try their drip cold brewer, I had to accept. It was time to put my expectations to the test. Would drip-cold brewing be as tedious and energy-consuming as I imagined?
Osaka Cold Brew Dripper Review
Honesty time: Osaka provided me with this product in exchange for my honest review. All opinions are my own. If I wouldn’t suggest this brewer to a close friend, I wouldn’t waste your time (or mine) writing about it.
Design
The first thing that struck me about the Osaka Cold Dripper was how different it looked and felt. I see a lot of copy-cat coffee products out there, but this isn’t one of them. This was a breath of fresh air for me.
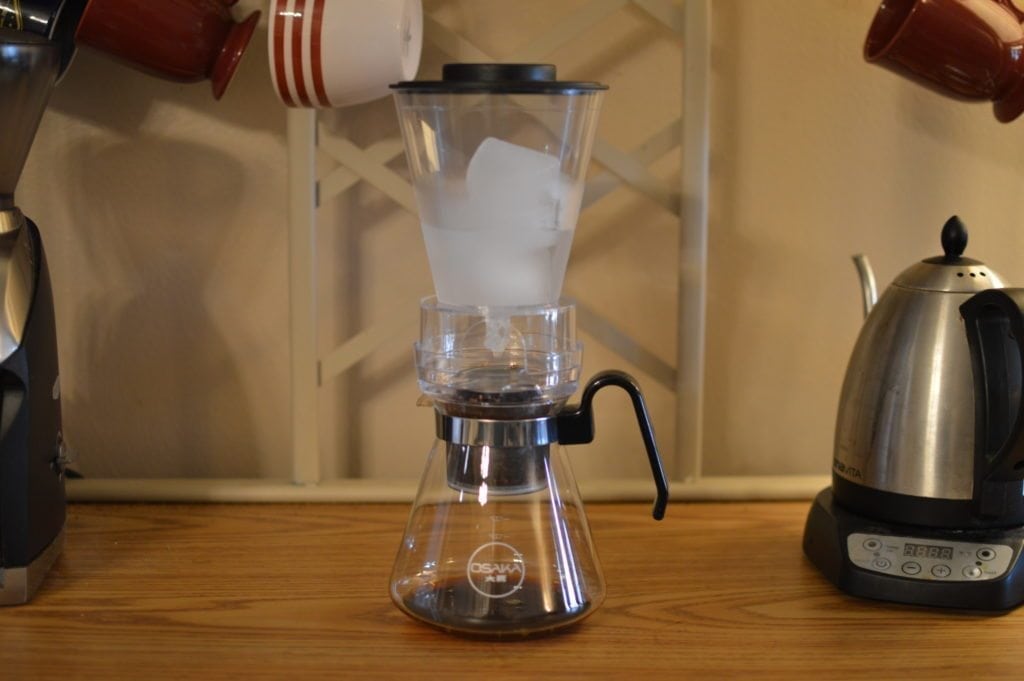
The carafe is made of borosilicate glass. It feels sturdy and classy, like any great coffee carafe should. The other parts (upper dripping chamber and coffee chamber) are made of durable plastic.
These three main pieces stack comfortably and give you a view of the entire process. Altogether, the brewer stands 10.5 inches tall, which makes it suitable for any kitchen.
The dripping adjustment mechanism made me nervous initially. Though it doesn’t feel flimsy, I had my doubts about how long the plastic would last with repetitive twisting. After I used the brewer a few times, however, that concern drifted away. It’s there to stay.
Overall, the entire brewer feels streamlined, durable, and simple.
Also Read: KitchenAid Precision Press Review: Romantic and Functional
Function + Ease Of Use
The entire process is more simple than I initially imagined:
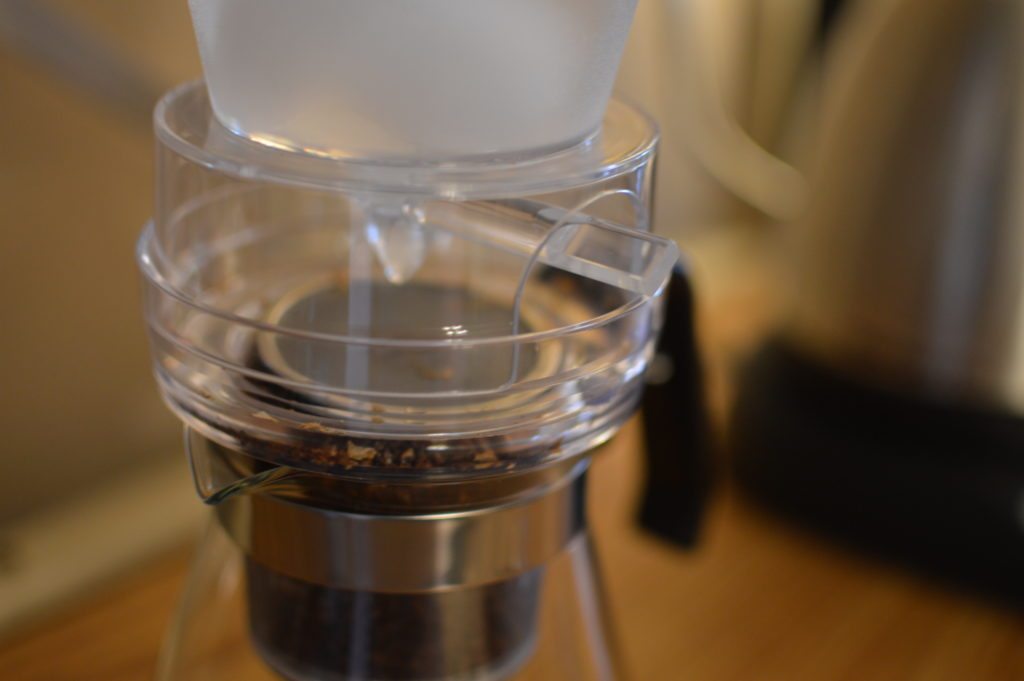
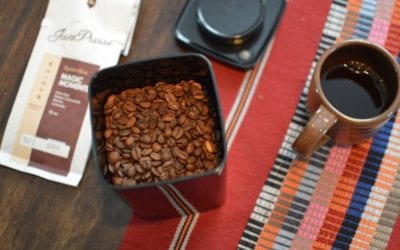
- You grind coffee at a medium-coarse setting and place it in the coffee chamber. Then, place the dispersion screen (stainless steel mesh) over the grounds.
- You place ice and some water in the dripping chamber and assemble the tower.
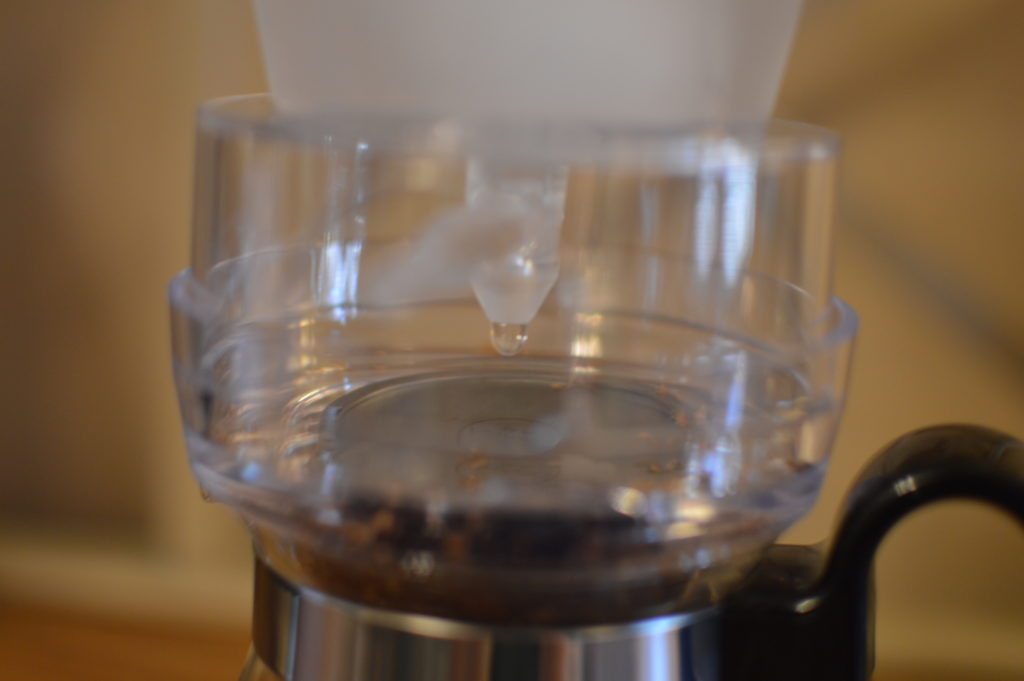
- You slightly adjust the dripping speed so that 1-2 drops fall per second.
- You adjust if needed over the next 2-5 hours.
After going through this process several times this Summer, I realized that – to my surprise – it’s not much more effort than the immersion method. Adjusting the dripping, and finding the right grind size – these things aren’t burdensome or annoying after all. Even clean-up is easy since the grounds are confined to a small area.
I also discovered that it doesn’t take 12 hours to make cold brew coffee using the slow drip method. It takes 2-5 hours. That’s a big difference. Being able to set up the brewer in the morning and enjoy a glass of iced coffee in the afternoon is a big plus in my mind.
The only issue I ran into was the melting of the ice. My ice cubes are large and kept fusing into one giant ice blob. They clogged the draining area a couple of times, which stalled the brewing and probably messed with my results. I’m not quite sure what I could have done differently in regards to this, but it doesn’t spoil the entire experience for me.
The Coffee
For the most part, the cold brew turned out great. It featured the characteristic low acidity and bitterness I appreciate in cold brew. The mesh filter helped bring out some fuller flavors by letting the oils and some micro-grounds through, but the mouthfeel was still on the lighter side compared to immersion cold brew.
I was satisfied with the coffee quality, but not always amazed. Some of the batches were just not quite there quality-wise. I believe these consistency and quality issues resulted from my ice problem. This could probably be worked out with a little more experience.
Also Read: Cold Brew Coffee – Everything You Need to Know
In Conclusion
I love brewing with the Osaka Cold Brew Dripper. It’s well built, is simple to use, and brews great cold brew coffee in just 2-5 hours, depending on batch size and drip-rate. At $30, it’s far more affordable than those giant Hario towers or other similar devices.
This brewer (and drip cold brew in general) is more than a visual gimmick – it’s a legitimate rival to immersion cold brewing.
If you’d like to explore the world of slow drip cold brewing, I highly suggest this brewer.
Osaka Cold Brew Dripper Brewing Guide
Let’s look a little deeper at the brewing process. While I became well acquainted with this brewer over the course of the Summer, I’m not a slow drip expert. This is my first drip cold brewer, after all. If you find an improvement to the process, I’m all ears!
- 40g Coffee (medium-fine grind)
- 125g Ice
- 75g Water
Collect your materials. Place the coffee grounds in the center chamber, shake to level, and top with the metal dispersion screen.
The official Osaka guide says this about the water-to-ice ratio:
Do not use too much water as it will not be cold when finished, and do not use too much ice as it will clog the dripper. Try to find an even balance.
Frankly, that’s not helpful at all. I eventually landed on using about 125g of ice and 75g of water. It worked well, but I’m not certain that’s the ideal ratio. You also want to add about 10g of cold water directly to the coffee grounds. This helps prepare the grounds for absorbing and releasing water.
Here’s the fun part.
Slowly twist the drip adjustment handle so that 1 drop of water falls every 1 second or so. The dripping rate will change slightly as the ice melts, so don’t stress over being uber-precise here. You should see the drops hit the dispersion screen and begin to saturate all the grounds evenly.
Come back every hour or so and check the drip rate. If it has slowed or sped up, adjust appropriately. After 3-4 hours, all the ice should be melted and water drained. Take apart the brewer and clean out the coffee area.
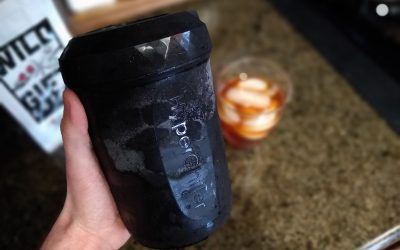
You can store your cold brew concentrate in the fridge for up to two weeks. When you’re ready for a glass, enjoy it as is (super strong), or cut it with an equal amount of cold water and top it with ice. If you’re feeling adventurous, try out a few of these creative cold brew drinks.
If you’d like to try out the slow drip cold brew method for yourself, check out the Osaka Cold Brew Dripper.
![]()


0 Comments