Inverted AeroPress Instructions
The Aerobie Aeropress is one of the newest brew methods to impress the world of specialty coffee. Its portability and durability make it ideal for travel, and its design and range of use allow it produce excellent coffee with a myriad of variables to manipulate.
The Aeropress is an immersion brewer with a pressing motion, but is very different than the French Press. Brewing ground coffee with this device is relatively quick and simple to clean. The final cup will be rich and clean, free of sediment unless you decide to use a metal filter.
Inverted AeroPress Instructions:
- Total Brew Time: ~2.5 minutes
- Measurements: 17g coffee, 250g water ( 8.8 oz)
- Grind: Medium – Fine
- Filter: Aeropress Filters, S Disk Filter
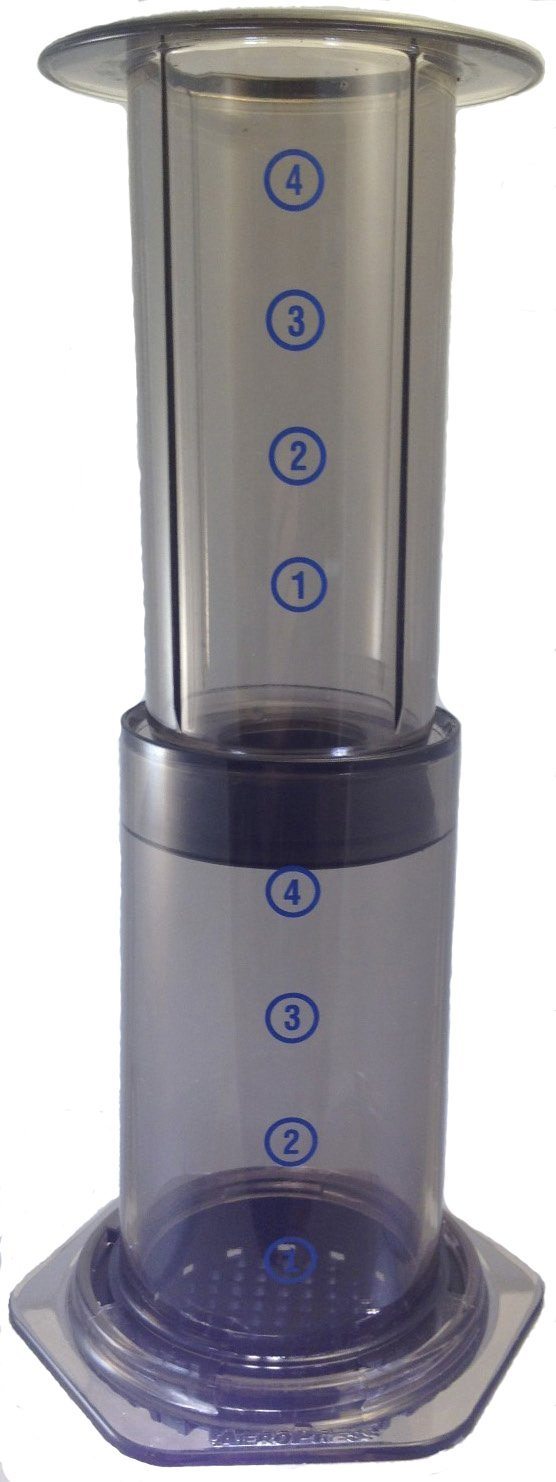
- Brewing Method: Inverted Aeropress method – the Aeropress will be brewing coffee with the filter cap facing upwards and the plunger already attached on the bottom
1. Bring the water temperature to just below a boil (~200° F / ~93° C ) in order to brew the ground coffee and pre-heat the Aeropress.
2. Place the metal or paper filter in the filter cap and preheat it by pouring a couple grams of hot water over it. Then pour a few grams into the Aeropress brew chamber to preheat it as well.
3. Weigh out 17 grams of coffee and grind it medium. After you throw out the preheat water, place the coffee grounds into the Aeropress.
4. Pour right at 50 grams of water, saturating all the grounds evenly, and rest for 40 seconds to allow for bloom. The grounds will soak up the water, which will you allow you to pour more water in and brew more coffee overall.
5. After 40 seconds have passed, pour the remaining 200 grams of water in slowly and evenly so that all the grounds continue to be fully saturated and agitated as you pour.
6. After a total of 1:30 has passed, place the cap on the Aeropress and flip the device over and onto a mug and shake the Aeropress slightly.
7. Begin pressing slowly. Too fast, and the bitterness in the ground coffee will be released. 30 seconds of pressure is ideal.
8. Once you hear air being forced through the filter turn the Aeropress back over. Trash the paper filter and ground coffee, then rinse off the equipment.
9. Since the Aeropress creates a slightly smaller cup than most people drink, I walked you through creating a more concentrated cup. To balance out the flavors, add some hot water to dilute the coffee. I typically do this by just filling up the mug to where it would normally be if made through another brewing method.
10. Sip, enjoy.
Aeropress Recipe Highlights:
- Aeropress
- 17g coffee, 250g hot water
- Grind: Medium – Fine
- Filter: Aeropress Filters, S Disk Filter
- Brewing Method: Inverted Aeropress
1. 50g bloom for 40s
2. 200g continuous pour, finish by 1:00
3. Use the plunger at 1:30 for 30s
4. Dilute with 30g of hot water
AeroPress Coffee FAQs:
What's the best grind size for AeroPress?
The incredible thing about the AeroPress is that it’s so flexible. You can pair a coarse grind size with a longer brewing time (2:30). A medium grind size works well with a shorter steep (1:30). And you can even use a fine(ish) grind size with a rapid brewing time (0:45) for a quick shot-like cup.
What's the best coffee grinder for AeroPress brewing?
A reliable coffee grinder is essential to delicious AeroPress, so we suggest either buying a sub-$50 hand grinder or saving up $100+ for an electric grinder. Here are our two primary picks:
- Kuissential EvenGrind (manual)
- Baratza Encore (electric)
If you’re using your AeroPress for travel coffee, definitely get yourself the EvenGrind — it’ll travel with you more easily than a larger electric grinder.
Can I make espresso with the AeroPress?
The AeroPress is capable of making extra-strong coffee, much like you’d find in a moka pot, but it’s not quite real espresso.
To be legitimate espresso, the coffee must be pulled with at least 8-10 bars of pressure — and the AeroPress, since it’s powered by hand, doesn’t get anywhere close.
However, you can still make some delicious faux-espresso drinks by using a fine grind setting and applying a lot of pressure to the plunger after a quick steep (make sure to use a sturdy mug!).
Does Aeropress make strong coffee?
Yes. Adjusting the brewing ratio in favor of the coffee is the best way to increase brew strength. Try a 1:14 ratio instead of a 1:16 or 1:17. It is also possible to increase extraction by grinding the coffee beans finer. The higher surface area should result in a higher extraction resulting in a “stronger” cup.
Just be aware that these adjustments will affect the flavor profile. Experiment with your recipe until you find a balance that works for you.
Brewing Variations:
1. The device was originally created to be used while sitting on top of a mug already with the filter cap down. This allowed some of the coffee to drip through before the brewing was complete, which is why many have adopted the Aeropress inverted method. Alternative Brewing has an inverted Aeropress brew guide on their site which is easy to follow and outlines a number of key factors including grind coarseness.
2. Many people like to use the stirrer that comes with the Aeropress to agitate the coffee grounds. Try it out and see what you think. With my method, the second phase of pouring does quite a bit of agitation, so I don’t use it, but I advise you to experiment for yourself.
3. There are hundreds of great Aeropress recipes out there. I recommend checking out pass winner recipes from the World Aeropress Championship.
Common Problems:
- If your final coffee is too bitter, you either need better coffee, or you should try pressing more slowly. Slow is key to a non-bitter coffee.
- If your final product is too strong, you can either dilute with coffee, or choose to brew with less coffee to begin with. Try 14 grams.
- If your final product is too weak, try more coffee, or dilute less.