So you wanna brew iced coffee? You’re in the right place. Summers can get hot. Real hot. As a result, the scene of sitting by the fire drinking a warm cup of coffee begins to lose its romantic appeal. That’s okay. It’ll be back in the Fall.
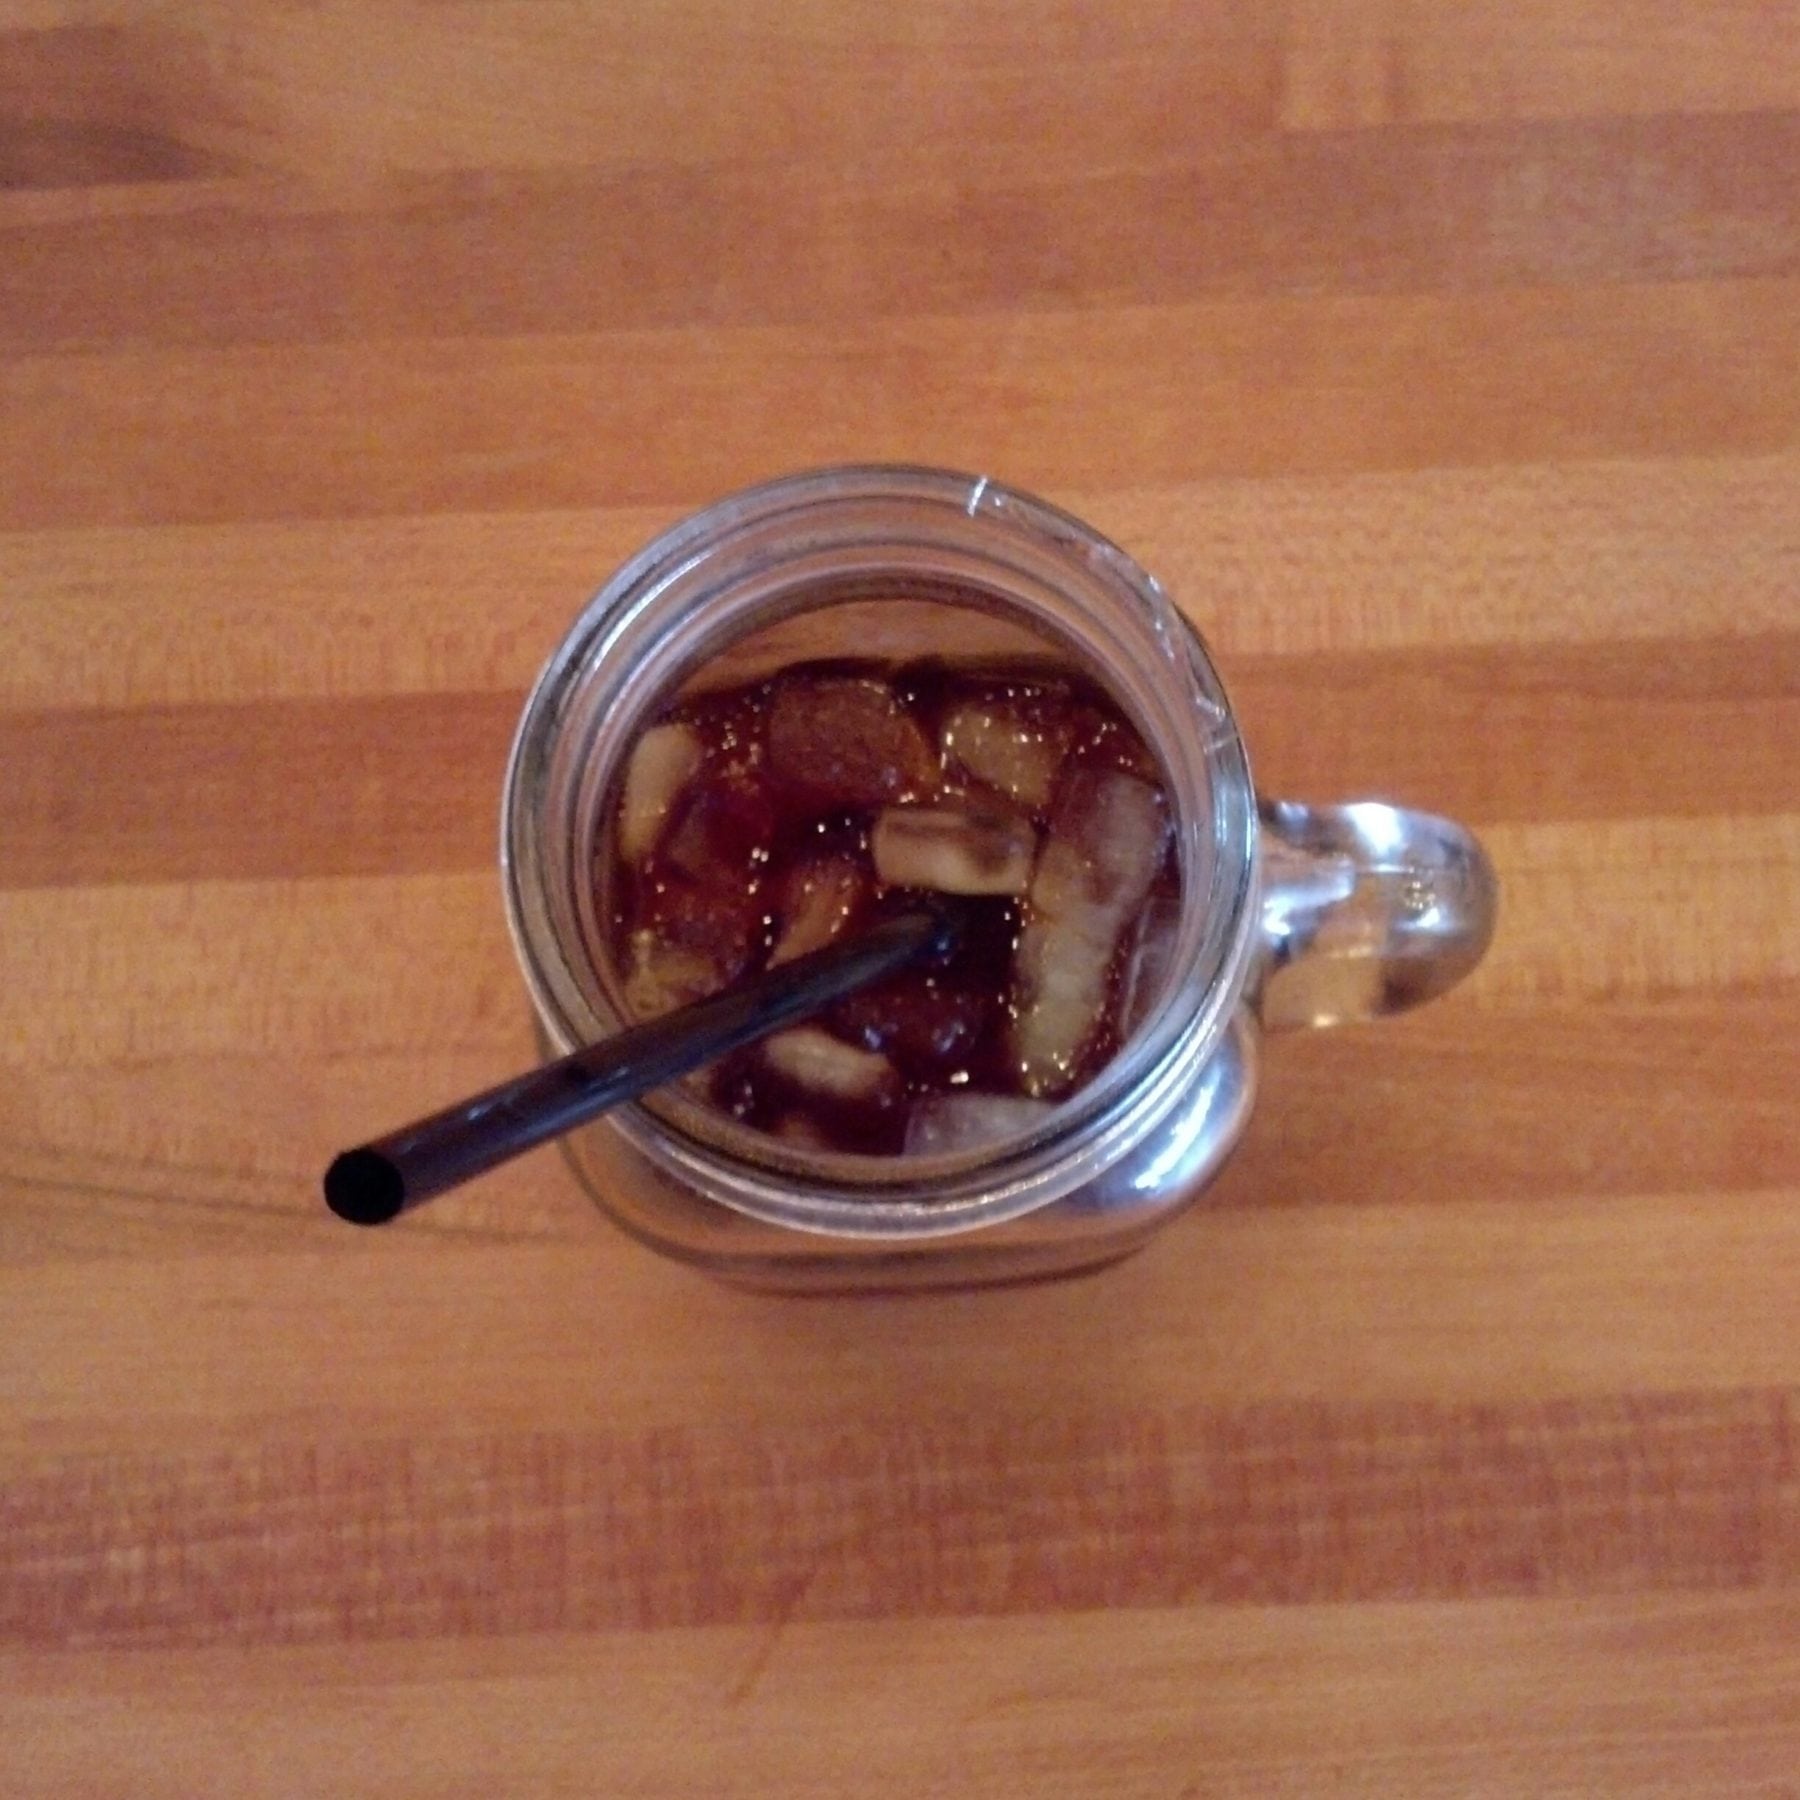
For now, a new scene should be entering your mind: You are reading a book or newspaper on the porch. It’s warm, but not yet hot this morning. Instead of steam rolling off the top of your mug, ice floats to the top of the mason jar. You take a sip in between pages and can feel the sweet elixir cooling down your body. Bliss.
Of course, this is only possible if you know how to brew a good cup of iced coffee. Thus, I give you three iced coffee recipes that I personally enjoy and will be sporting many times throughout the summer.
1. The Basic Pour Over
Let’s start simple. This iced coffee recipe is very basic and can be built upon once you’re comfortable manipulating variables. This simple recipe can be used with any pour over brewer. I typically use the Hario V60.
- Coffee: 20g – Medium
- Water: 150g – 200°F
- Ice: 150g
Boil your water, grind your coffee, and collect your ice in a tall glass. Since we’re using 150g of ice, we’re going to cut our water usage to only 150g. This may not seem like much water, but this ratio will create a good balance between the coffee and the melting ice.
Begin by pouring about 25g of water onto the bed of coffee grounds in your pour over device. Let it sit for about fifteen seconds, letting the grounds bloom and breathe. Continue pouring water slowly and evenly in a circle around the bed of the coffee. Don’t dump the water in quickly, but try to pour it in at the same right the coffee is dripping out of the bottom, producing a well-extracted cup.
After you have poured 150g of water into the coffee grounds, toss the filter, rinse the brewer, and enjoy.
Counter Culture produced an excellent video guide on this simple, adaptable method. Check it out.
Once you’ve done this several times, start experimenting with the ratios. Want more ice? Put more in. More water? Try that also!
2. Cold Brew
I already have a dedicated Cold Brew Guide, but I’ll go ahead and mention it here also. Cold brewed coffee is typically easier to drink. It’s significantly less bitter and acidic, and tends to bring out bright flavors that are easy to detect. Thankfully, it’s also very easy to make with simple household items and half a day. All you need is a pitcher to hold the coffee grounds and water mixture, and a filter or two for pouring into another container.
Once you have your coffee grounds and water measured out, simply combine them in a pitcher of some sort. Wait ten minutes, then give the mixture a good stir. Then you get to go about your day. The room temperature or cool water won’t break down the coffee grounds to create a drinkable solution very quickly at all, so give it about 12 hours to brew. Yes. 12 hours.
After you’ve gone about your day or woken up for the morning, simply pour the cold brew through a filter into another container. It’s that simple. You’ve successfully brewed cold brew coffee.
But I wouldn’t drink it. At least not without watering it down. The ratio I am giving you will create a concentrate that won’t taste good on its own. Dilute it with water. About 50% concentrate, 50% water will be perfect. Adjust the portions to your liking and add ice. Whala!
3. Shaken Iced Aeropress
This one is brand new to me. As in, I just made it for the first time five minutes ago. Although I first heard about it on another blog, The Coffee Adventures, the recipe and video guide come from Maxwell Mooney. Thank you both!
If you’ve got an Aeropress, try this one out for sure.
- Coffee: 20g – Fine
- Water: 220g – 200°F
- Ice: 200g
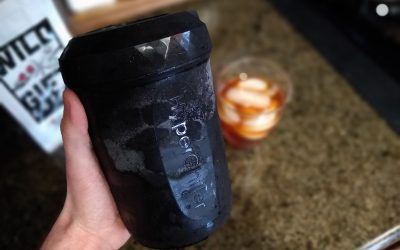
Boil your water, grind your coffee, and collect your ice in something that can be shaken safely. Mooney uses a cocktail shaker. I just used a large travel mug with a good seal. In the video, the method is performed in the original Aeropress position, but inverted will do just fine also.
Start the timer and begin adding 100 grams of water to the coffee in the Aeropress. Give it a ten second stir. At 30 seconds, continue adding the remainder of the water, bringing you to a total of 220 grams.
Once you’ve reached 2 minutes of total brewing time, plunge! Mooney plunges into a server and then pours it over ice. I chose just to plunge over my ice instead.
From here you should create a seal in whatever you’re using to shake. My travel mug with its lid was good enough for this. Ten seconds of shaking and I was done!
I could have just drank it from there, but I decided instead to pour it into a tall glass for some eye appeal. There should be a fun amount of froth floating in your elixir. Drink it. Om nom.
Here’s the video guide:
Just like with every other method I introduce you to, play around. Want more coffee? Add it. Want to wait and add some of the ice after shaking. Do that too!
These three options for iced coffee only scratch the surface. There are dozens of recipes, ratios, brew methods, and mechanisms. Try them all out and even come up with your own. What do you have to lose?










0 Comments